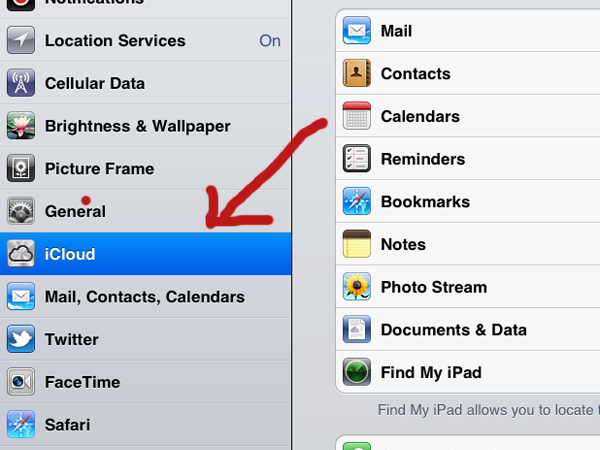
STEP 1
From the home screen select the Settings option and scroll down to iCloud link and tap it.
STEP 2
On this page you can choose which content you wish to share over Cloud. Mail, Contacts, Calendars, Reminders, Safari Bookmarks and Notes are rather straightforward. By checking the slider to the "On" position, all new content to sent to or generated by these apps will be automatically uploaded to iCloud during sync.
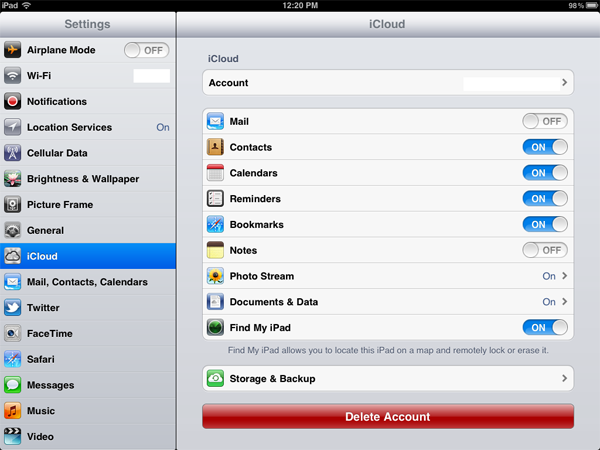
STEP 3
The Photo stream option is a little different as all images taken or downloaded via your iDevice will be uploaded to the iCloud as usual but these images will be also be shared over all other iCloud linked devices on your network. This may cause problems due to the size of your images and the memory capacity of your other devices.
STEP 4
By choosing to share through the Documents & Data option all documents generated via your device or a host of applications will be uploaded to iCloud. This is very useful but we suggest you maintain a close eye on your iCloud data storage levels. From this link you can also choose to upload data via mobile data transfer. We advise you to checkyour data package with the network provider before selecting this link.
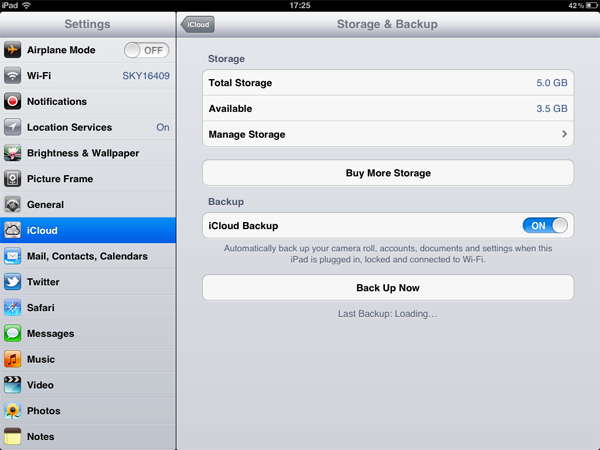
STEP 5
The Storage & Backup link at the bottom of this page offers you access to your iCloud account to purchase more storage space and check current volume levels.

STEP 6
Also on this screen you can choose to use the iCloud Backup option which enables you to sync directly with iCloud without needing to connect your iDevice to the charger. By selecting this option you can automatically back ups all new data in real time when the device is connected to your Wi-Fi network.
No comments:
Post a Comment